Blog
How to programme your irrigation controller without making mistakes?
3 July 2025
The controller is the heart of an irrigation system: it’s the key tool for automating the process and ensuring that each area receives the right amount of water at the right time. However, incorrect programming can lead to water waste, plant stress, and negative impacts on energy and cost efficiency.
In this article, we’ll look at how to programme the controller and some best practices.
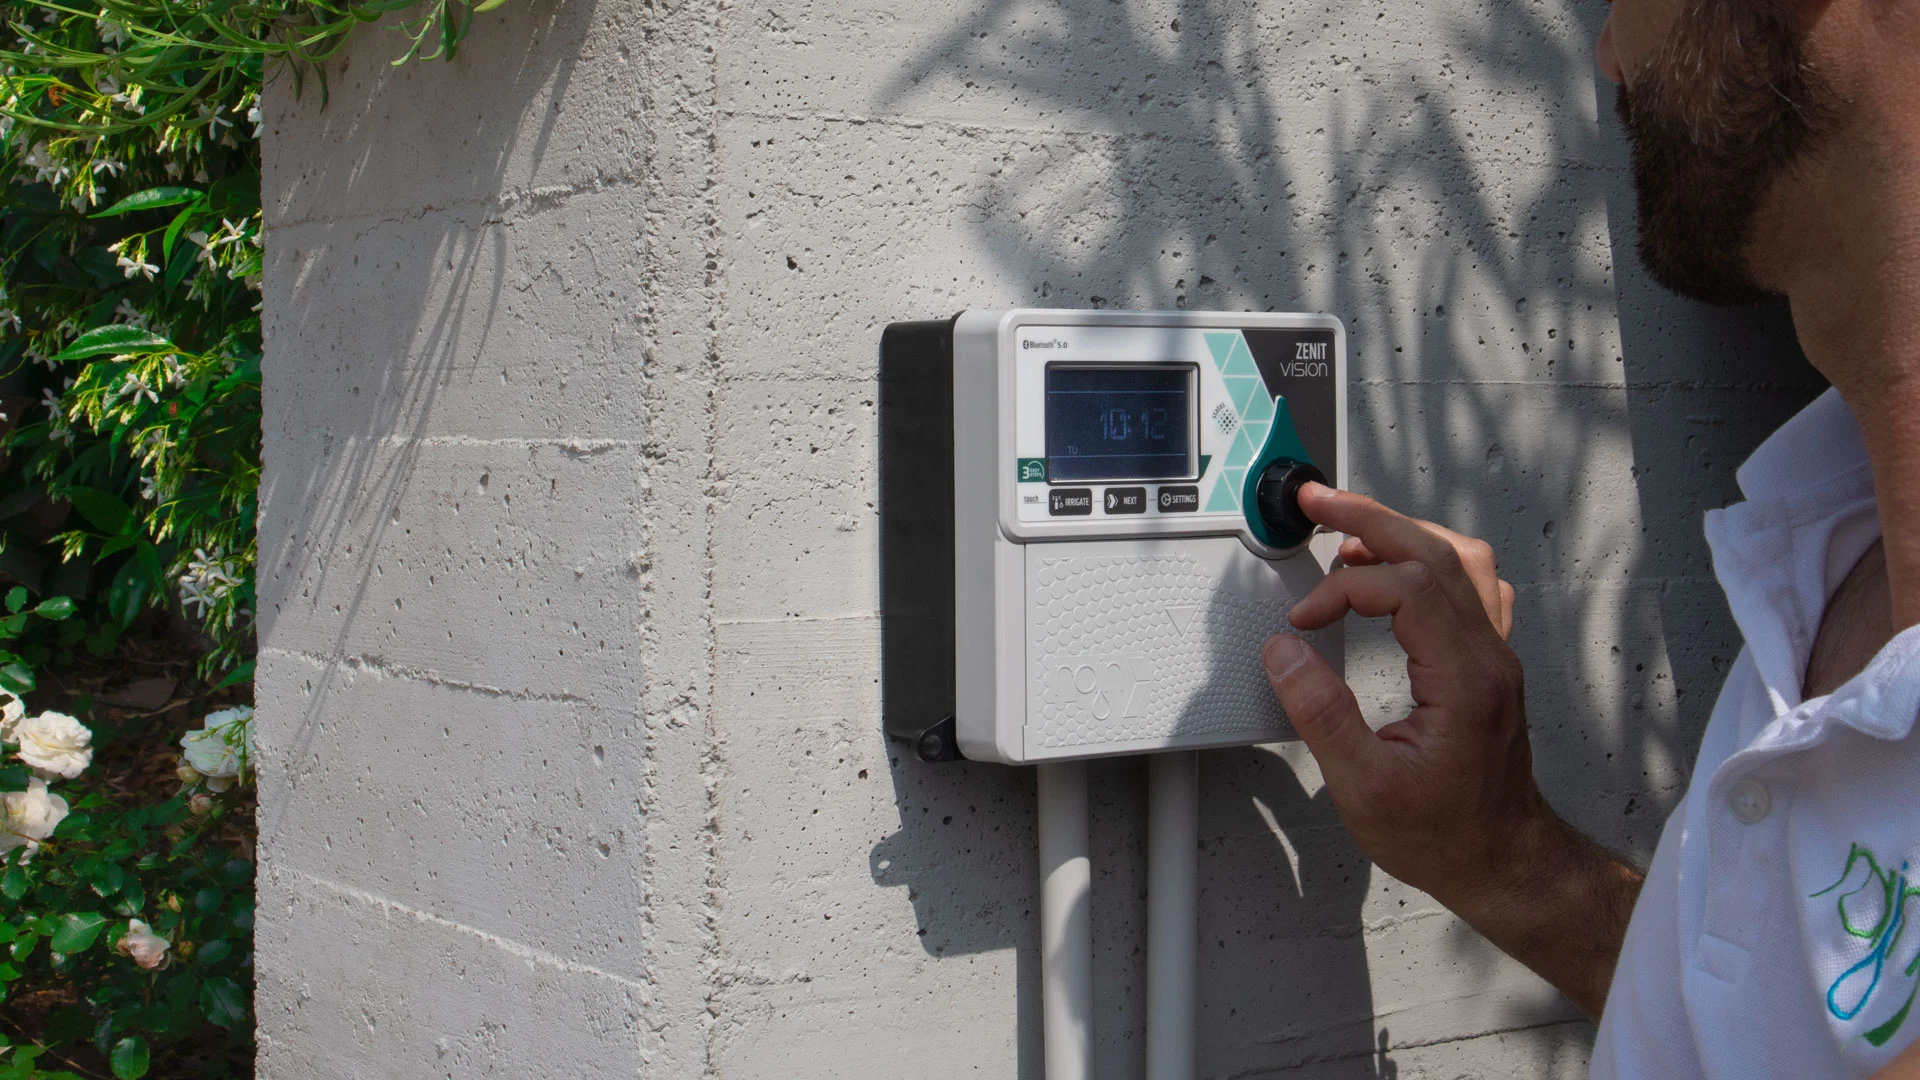
Installing the irrigation controller correctly
Before programming, it’s essential to ensure the controller is properly installed. Installation methods vary depending on the type of device:
- Wall-mounted controllers: must be fixed to a wall and connected to the mains. They need to be linked to solenoid valves with matching voltage and each zone should be tested to ensure proper operation.
- Valve box controllers: installed directly inside the valve box with the solenoid valve. They run on a 9V battery and must be correctly positioned and insulated to prevent moisture damage.
- Tap timers: connect directly to an outdoor tap and run on batteries. Ideal for small systems, with the solenoid valve integrated.
Programming the controller
Once installed, it’s important to understand how irrigation controllers work. They operate based on two key elements:
- Zones (or sectors): represent individual solenoid valves, i.e., specific areas to be irrigated (e.g., lawn, flowerbeds, vegetable garden, hedges).
- Programmes: represent a full irrigation cycle and may include one or more zones. Tap timers usually support only one programme for a single irrigation line.
The controller performs irrigation sequentially, opening and closing the solenoid valves one at a time according to the defined order and scheduled times. Therefore, it is not necessary to set a start time for each zone—only the programme start time needs to be set: the controller will handle the activations automatically.
Here are the steps to follow for optimal configuration of the controller’s programming.
1. Define the zones
Assign a number or name to each area controlled by a solenoid valve.
2. Set irrigation times
For each programme, define:
- Start time
- Duration (in minutes)
- Frequency (e.g., twice a day, every other day, weekly)
3. Seasonal adjustments
Adapt the schedule to the season. In summer, shorter but more frequent cycles may be more effective than longer ones.
Best practices for programming an irrigation controller
Incorrect programming can compromise system performance. Consider the following:
Avoid overlapping programmes
Overlapping zones or closely timed programmes can cause duplicate watering or delays.
Don’t use the same duration for all zones
Each zone has different needs (sun exposure, plant type, soil). Uniform durations can lead to imbalances.
Account for soil absorption
On clay soils or slopes, use short, repeated cycles to avoid runoff. Long single cycles may waste water.
Rain controllers: simple and precise installation
Rain controllers are designed to simplify programming, even for beginners. Key benefits include:
- “3-Easy-Steps” programming: quick calendar-based setup with just three essential inputs
- Smart models with app control and real-time monitoring
- Large buttons for easy input
- Rain sensor compatibility to pause watering during rainfall
With professional yet user-friendly models, you can manage your system efficiently and error-free.
Choosing reliable technology is the first step to perfect irrigation. Pick a controller designed to simplify your work and improve your system’s health.
Discover the latest innovations
in irrigation systems!